
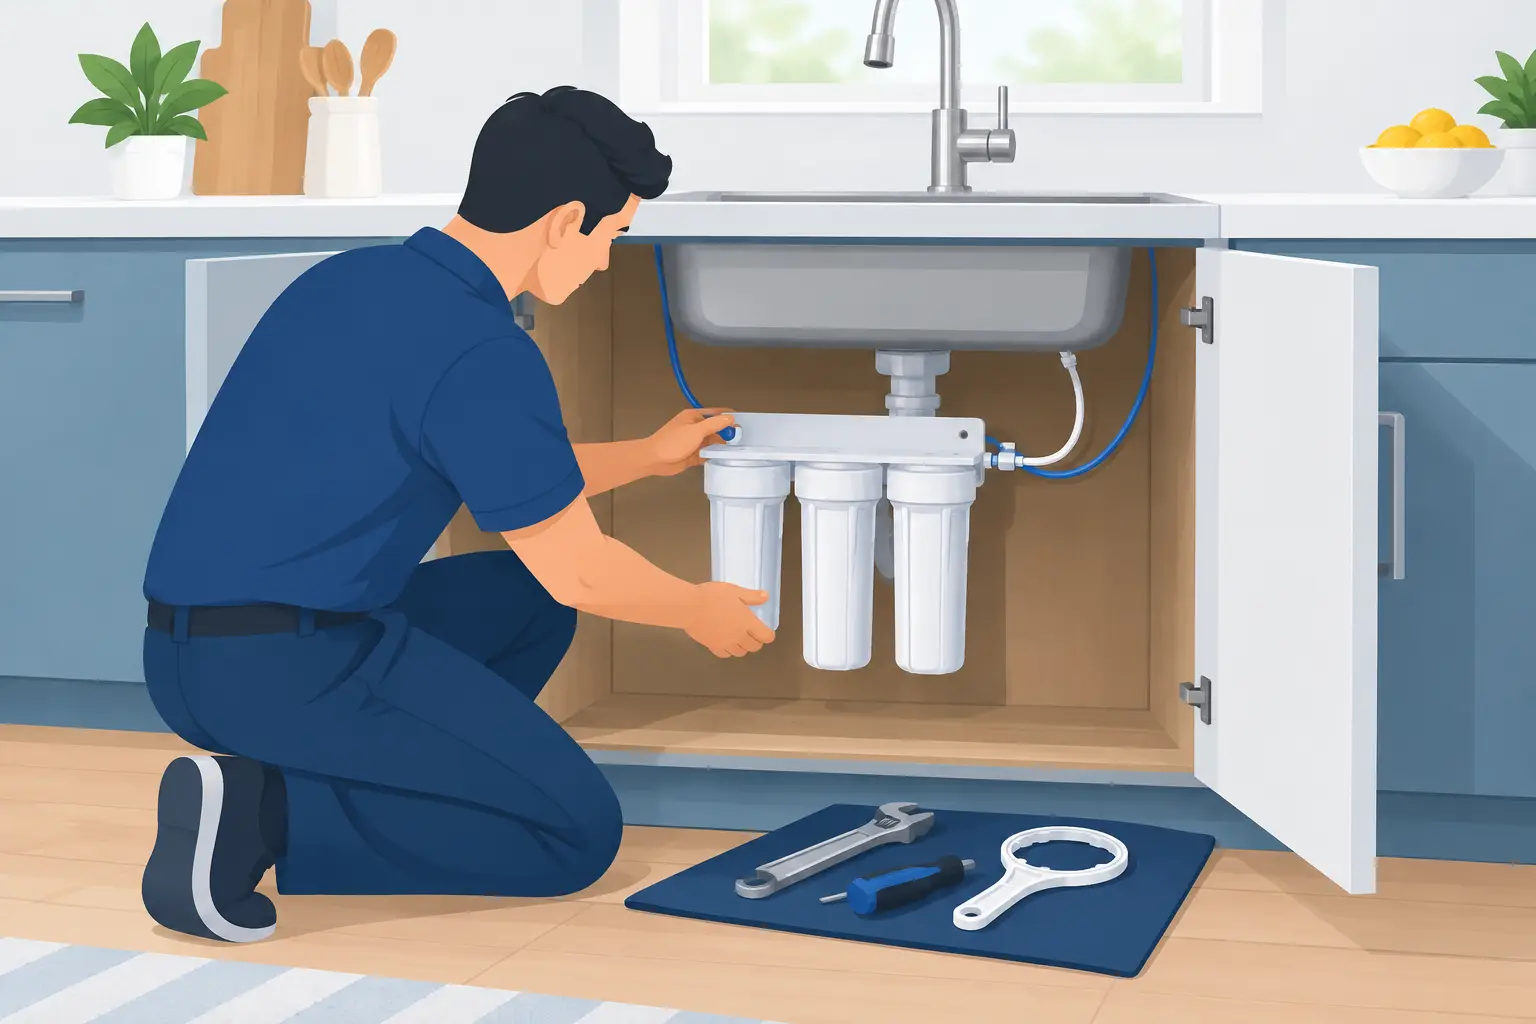
A drinking-water filter should improve your kitchen, not create a slow leak inside the cabinet or reduce pressure at the tap. If you plan to install under sink filter equipment, the first decision is not where to drill a hole. It is choosing a system that addresses the water issue you actually have – whether that is chlorine taste, lead concerns, sediment, hardness-related scale, well-water odours, or a combination of problems.
An under-sink system can be an excellent solution for clean, better-tasting water at the kitchen tap. However, proper installation matters. The system must fit the available space, connect to compatible plumbing, and be serviced on schedule to continue performing as intended.
Start With the Water Problem, Not the Filter
Under-sink filters are designed primarily for point-of-use drinking water. They treat the water used for drinking, cooking, coffee, ice, and food preparation. They do not protect showers, toilets, appliances, or the rest of the plumbing system.
For municipal water, a carbon filtration system may reduce chlorine taste and odour, sediment, and certain contaminants depending on the filter media and certification. If lead is a concern in an older home, use a system specifically rated for lead reduction. A standard sediment or taste-and-odour filter should never be assumed to remove lead.
Reverse osmosis is often a stronger choice when homeowners want a higher level of dissolved-contaminant reduction. It can address a broader range of concerns, including many dissolved solids, while delivering dedicated drinking water from a separate faucet. These systems require more cabinet space and include a storage tank and drain connection.
For private wells, lake water, or water with iron, sulphur odour, bacteria, or significant hardness, an under-sink filter may only be one part of the solution. Treating severe source-water issues at one faucet leaves the rest of the home exposed to staining, scale buildup, odours, and equipment wear. Whole-home filtration, water softening, iron removal, or ultraviolet disinfection may be the more practical first step.
What to Check Before You Install an Under Sink Filter
Open the cabinet and look beyond the empty floor space. Existing pipes, a garbage disposal, pull-out waste bins, and cleaning supplies can all affect whether the system fits and remains easy to service. A filter that is difficult to access is more likely to miss cartridge changes.
Before installation, confirm these four details:
- The cold-water shutoff valve works and can fully stop water flow.
- The system has enough vertical clearance for filter replacement.
- The tubing, fittings, and supply connections match your plumbing materials and water pressure.
- A dedicated faucet hole is available or can be added safely to the countertop or sink.
Most under-sink drinking-water systems connect only to the cold-water line. Connecting a filter to hot water can damage filter media, tubing, and seals. If you are installing reverse osmosis, also verify that there is a suitable drain connection and room for the tank.
Homes with older shutoff valves deserve extra attention. A valve that has not been operated for years can seize, drip, or fail to close completely when disturbed. This is one reason professional installation is often worthwhile, particularly in older Ontario homes with aging plumbing.
How to Install an Under Sink Filter Without Creating Problems
Begin by shutting off the cold-water supply below the sink and opening the kitchen faucet to relieve pressure. Place a towel or shallow pan beneath the connections. Even a small amount of residual water can make cabinet work messy.
The typical installation sequence starts with mounting the filter bracket on a solid cabinet wall where cartridges can be removed without obstruction. Avoid mounting it so low that it sits in standing water after a minor cabinet leak, and avoid placing it where the housing will strike pipes or drawers during service.
Next, install the supplied adapter or tee fitting on the cold-water line. This supplies water to the filtration system while preserving the existing line to the kitchen faucet. Use only the fittings provided or fittings approved for the system. Mixing incompatible parts can lead to poor seals, restricted flow, or premature fitting failure.
Run the inlet and outlet tubing neatly, allowing enough slack to avoid sharp bends. Kinked tubing can reduce flow and place stress on quick-connect fittings. Push tubing fully into each fitting according to the manufacturer’s instructions, then gently pull it back to confirm it is secure.
If the system uses a dedicated drinking-water faucet, mount it only after confirming the countertop material can be drilled safely. Stainless steel sinks are generally straightforward with the right bit and technique. Granite, quartz, porcelain, and solid-surface counters can crack or chip if drilled incorrectly. A professional installer can assess the material and use the appropriate tools.
Reverse osmosis systems require an additional drain saddle or approved drain connection. Its placement must allow wastewater to flow correctly and must not interfere with the sink drain or dishwasher connection. Because this part affects both performance and local plumbing requirements, it is an area where experience makes a meaningful difference.
Flush the System and Inspect Every Connection
Once all connections are complete, slowly turn on the cold-water supply. Do not open it abruptly. A gradual start makes it easier to spot a loose fitting before water sprays inside the cabinet.
Check every connection with a dry paper towel, including the supply adapter, tubing fittings, filter housings, faucet base, and any drain connection. A paper towel reveals small leaks more clearly than a quick visual inspection. Check again after the system has been running for several minutes and once more later that day.
New carbon filters usually need flushing to remove fine carbon particles and prepare the media for use. Follow the specific flushing instructions supplied with the system. Reverse osmosis systems may require filling and emptying the storage tank more than once before the water is ready for regular use.
Do not judge a system by the first glass of water. Carbon taste, trapped air, and residual manufacturing dust can affect the initial flush. Once properly flushed, water should run clear and the system should provide consistent flow appropriate to its design.
When a DIY Installation Is Not the Best Option
Many basic under-sink filters can be installed by a capable homeowner. Still, DIY is not always the lower-risk choice. A small leak can damage cabinetry, flooring, and adjacent finished spaces long before it becomes visible.
Professional installation is particularly advisable when the home has corroded plumbing, restricted cabinet access, stone countertops, a reverse osmosis drain connection, a suspected lead issue, or an existing water-quality problem that has not been tested. It is also the better route when you want filtration coordinated with a water softener, whole-home filter, ultraviolet system, or well-water treatment equipment.
A qualified water treatment specialist can test or review your water, size the system appropriately, install it cleanly, and explain the service schedule. That prevents a common mistake: buying a filter based on a label claim that does not match the contaminants or water conditions in the home.
Keep the Filter Working After Installation
Installing the system is only the beginning. Filter cartridges have a limited service life, usually measured by time, gallons treated, or both. Waiting until water tastes bad is not a reliable replacement schedule. A spent filter can reduce flow and may no longer provide the reduction performance you purchased it for.
Write the installation date inside the cabinet or set a calendar reminder. Keep replacement cartridges on hand if your household depends on the system daily. When changing cartridges, shut off the water supply, relieve pressure, inspect O-rings and fittings, and check carefully for leaks after restarting the system.
Canadian Smart Home Solutions helps Ontario homeowners choose and install drinking-water and whole-home treatment systems based on practical water concerns, not one-size-fits-all assumptions. The right under-sink filter should be easy to maintain, properly installed, and matched to the water coming into your home. If your water has persistent staining, scale, sulphur odour, or suspected contamination, start with a proper assessment before selecting a filter.