
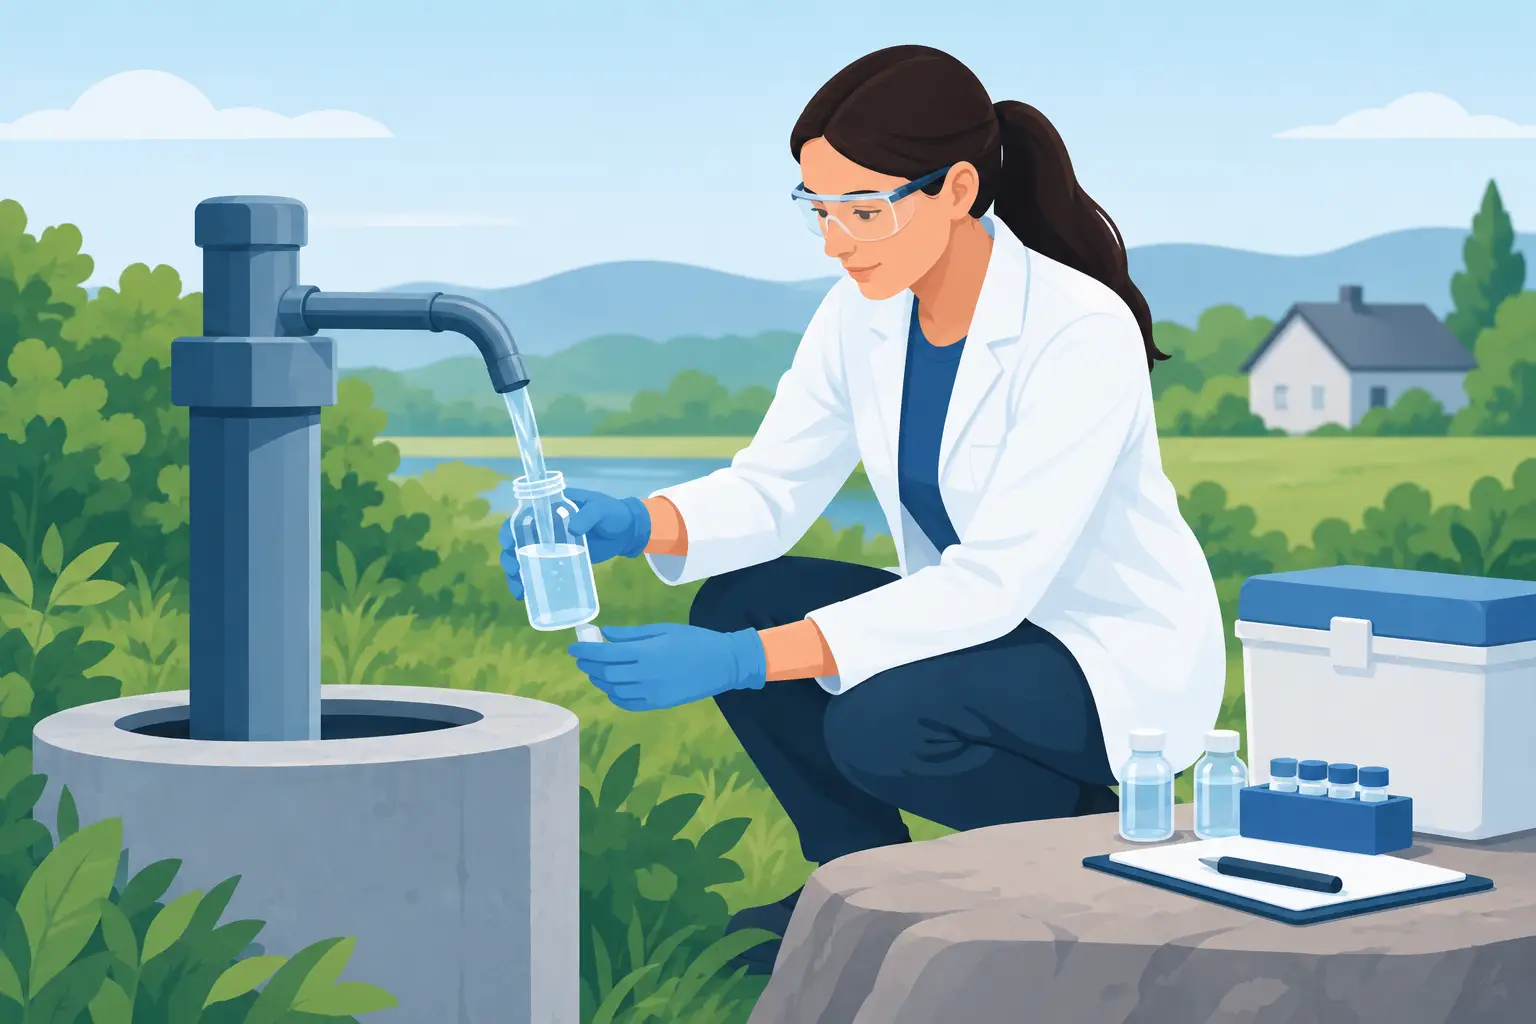
A water test can only be as reliable as the sample in the bottle. If you are learning how to sample well water after noticing orange staining, sulphur odours, scale buildup, cloudy water, or a change in taste, the goal is simple: collect water that accurately represents what your household is using. A rushed sample from the wrong tap can produce misleading results and lead to the wrong treatment recommendation.
For Ontario well owners, proper sampling is especially valuable because groundwater conditions can change with season, rainfall, nearby construction, flooding, and changes in well operation. A careful sample gives your laboratory or water treatment specialist the information needed to identify the real issue, whether that is bacteria, iron, manganese, hardness, sulphur, lead, nitrates, or another concern.
Start With the Right Test and Bottle
Before collecting anything, confirm what you are testing for and follow the laboratory’s instructions. Different analyses require different bottles, preservatives, handling methods, and holding times. A bottle for general mineral testing is not necessarily suitable for a bacteriological test, and a lead sample may require a very specific first-draw procedure.
Use only the containers supplied or approved by the laboratory. Do not rinse them unless the lab specifically tells you to do so. Some bottles contain a preservative that may not be visible. Rinsing, touching the inside of the cap, or transferring water into another container can compromise the result.
Ask the lab or testing provider for clear instructions before you begin. This matters most for bacteria, lead, volatile chemicals, and other time-sensitive tests. If the sample must be delivered within a certain number of hours, plan your collection time around the drop-off schedule rather than leaving the bottle sitting on a counter or in a warm vehicle.
Choose a Sampling Tap That Represents Your Water
For a general well-water analysis, collect from a cold-water tap that is supplied directly by your well system and is used regularly. A kitchen tap is often appropriate, but avoid a tap connected to a point-of-use filter, reverse osmosis system, water softener, ultraviolet system, refrigerator dispenser, or other treatment equipment when you want to understand untreated well water.
If you are diagnosing a whole-home water problem, a sample taken before treatment is usually the most useful starting point. In some cases, testing after treatment is also necessary to verify performance. For example, an iron filter or water softener should be checked after installation to confirm the system is delivering the expected result.
Remove screens, aerators, hoses, and attachments from the faucet if possible. These components can harbour debris or bacteria and can affect a bacteriological sample. Do not sample from an outdoor spigot, laundry sink with a hose attached, bathtub faucet, or a tap that has not been used for a long time unless your testing instructions specifically call for it.
How to Sample Well Water for General Chemistry
General chemistry testing can identify the conditions that affect taste, staining, scaling, corrosion, and equipment selection. It may include hardness, iron, manganese, pH, alkalinity, total dissolved solids, sulphate, chloride, sodium, and other minerals.
Start by running the cold water long enough to clear standing water from the household plumbing. In many homes, five to 10 minutes is appropriate, or until the water temperature becomes consistently cold. This provides a sample that better reflects water from the well and pressure tank rather than water that has been sitting in interior pipes.
Reduce the flow to a steady, gentle stream. Fill the bottle to the line indicated by the lab, leaving headspace only if instructed. Avoid splashing and do not let the bottle touch the faucet. Cap it immediately and make sure the lid is secure.
If the water has a strong sulphur smell, visible sediment, or an unusual colour, note that on the submission form. These observations can help explain the analytical results. A sample may look clear when it leaves the tap but develop orange or black particles after sitting, which can indicate iron or manganese oxidation.
Sampling Well Water for Bacteria Requires Extra Care
Bacteria testing is not the same as a mineral test. The bottle is sterile, and the objective is to avoid introducing bacteria from your hands, faucet, countertop, or container lid.
First, remove the faucet aerator or screen. Clean the outlet if the laboratory or public health instructions direct you to do so, but do not use disinfectants unless they are specifically recommended for the testing method. Run cold water for several minutes, then reduce the flow so it does not splash.
Open the sterile bottle only when you are ready to fill it. Do not touch the inside of the bottle or cap, and do not set the cap down on a counter. Fill to the marked level, cap it right away, and refrigerate or keep it cool if directed. Deliver the sample promptly within the lab’s required holding time.
A positive bacteria result does not automatically mean the well itself is contaminated. The issue may come from the plumbing, faucet, pressure tank, well cap, or sampling process. However, it should always be treated seriously. Follow the direction of your local public health unit or qualified water professional, especially where E. coli or other indicators of fecal contamination are present.
Lead Testing Often Uses a First-Draw Sample
Lead enters drinking water primarily through plumbing components, not the groundwater source. That is why lead sampling usually follows a different method. Many protocols require water to remain unused in the plumbing for a specified period, often overnight, followed by collection of the first water drawn from the tap.
Do not flush the tap before a first-draw lead sample if the instructions say not to. Do not wash dishes, run the dishwasher, or use water from that fixture during the required stagnation period. Because procedures vary by lab and testing program, the supplied instructions should take priority over general advice.
If your home has older plumbing, a lead test can provide useful information even when the well itself tests well for minerals and bacteria. Certified point-of-use lead reduction systems, whole-home filtration where appropriate, and plumbing upgrades may all be considered depending on the source and concentration of lead.
Avoid These Common Sampling Mistakes
Most inaccurate well-water results are caused by simple collection errors. The following mistakes can make water appear cleaner or more contaminated than it actually is:
- Sampling after a water softener, carbon filter, reverse osmosis unit, or ultraviolet system when untreated water is the concern.
- Filling a lab bottle from a tap with an aerator, hose, or filter attachment still in place.
- Rinsing a supplied sample bottle or touching the inside of the lid.
- Collecting bacteria samples too early in the day, then delivering them after the laboratory holding time has passed.
- Using hot water, which may be affected by the water heater and does not represent incoming well water.
- Forgetting to label the bottle with the date, time, address, and sampling location.
It also helps to avoid sampling immediately after an unusual event unless that event is what you are investigating. A long power outage, heavy rainfall, flooding, well repairs, shock chlorination, or an extended vacancy can all change the result. Record these conditions so they can be considered during interpretation.
Keep a Clear Record of What You Collected
Label every sample before leaving home. Include the collection date and time, the exact tap location, and whether the sample was taken before or after treatment. Complete the laboratory form with details about your well, any current treatment equipment, visible staining, odours, recent flooding, and household concerns.
This information makes the results more useful. For example, iron and manganese may explain staining and appliance wear, while hardness points to scale accumulation in pipes, water heaters, and fixtures. Low pH can contribute to corrosion. Bacterial results require a different response than mineral issues, and not every concern is solved by the same filter.
Test at the Right Times, Not Just Once
A single water test is a snapshot, not a lifetime guarantee. Private well owners should test for bacteria regularly and test more broadly when water quality changes or conditions around the property change. Consider retesting after flooding, a damaged well cap, well servicing, nearby excavation, a new odour or taste, unexplained illness, or changes in staining and scale.
A complete analysis is also wise before selecting a new water treatment system. Equipment sized only for hardness may not address iron, sulphur, manganese, or low pH. Likewise, a system designed for one household may not suit a high-flow commercial property, school, lodge, or multi-unit building.
Canadian Smart Home Solutions can help Ontario property owners interpret water results and match the findings to practical, properly sized treatment options. The focus should be on the actual water conditions, household demand, and long-term protection of plumbing and appliances, not a one-size-fits-all product.
When you collect your next well-water sample, slow down and follow the laboratory method exactly. A few careful minutes at the tap can provide the clear evidence needed to protect your water, your equipment, and the people who rely on both.